Tuesday, April 1, 2014

A Walk In The Park - Greenstyle's Caroline Maxi Dress

This week Greenstyle Creations is having another contest.  If you "go out and about" in one of your Greenstyle Creations, you can post a photo on their Facebook page or Instagram, label it #showoffgreenstyle, and you've earned an entry.

Naturally,  I have to give it a go because Greenstyle is a favorite PDF pattern maker.  (I'm not telling you who all my favorites are.  There are lots.  But if you see more blogs about one than the other, you might guess which ones are. I haven't been blogging long enough for you to begin to guess!)

The Caroline Maxi Dress was a pattern I saw a couple years ago and thought about trying.  I was mostly making children's clothing and didn't want to quite delve into PDF patterns for myself.  Well, here I am, making myself a Caroline Maxi!  You can purchase the PDF at Greenstyle's new website.

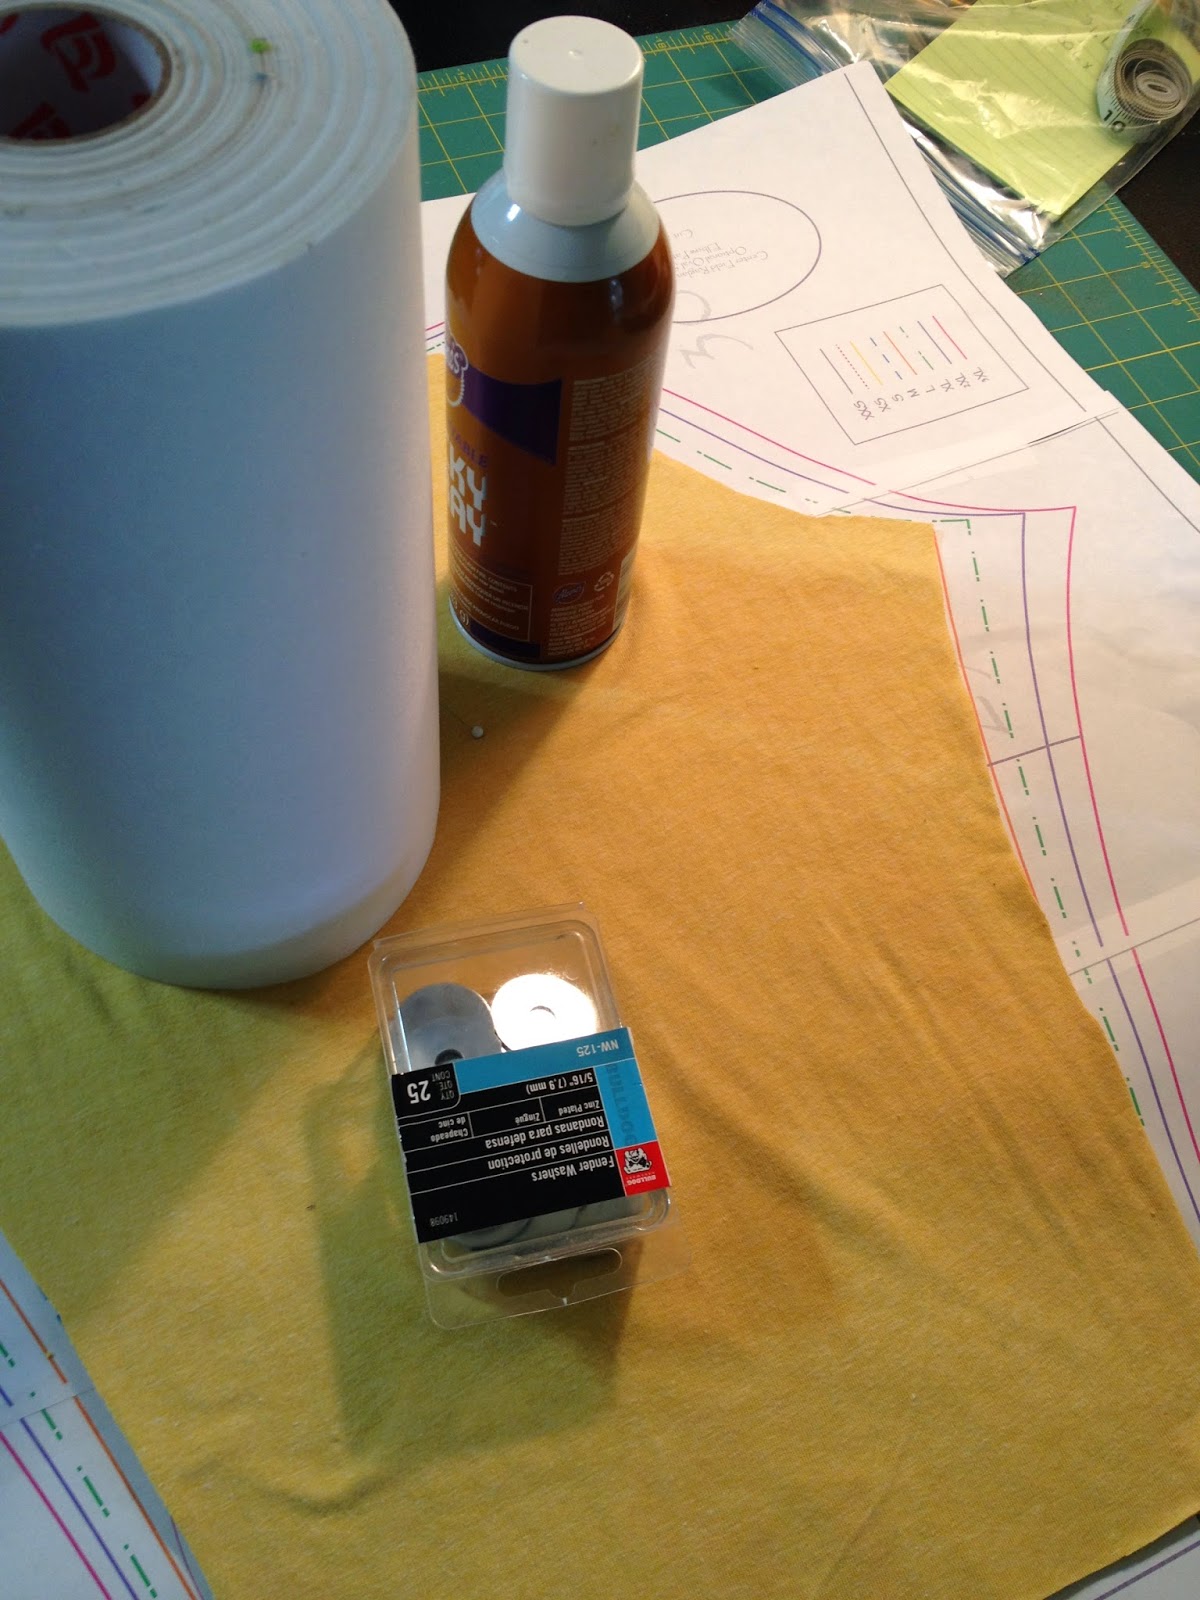
I used an interlock knit purchased from Girl Charlee a few weeks earlier.  You can find it here.  I also had little light brown linen left that matched the stripes so well, it became the front yoke and a perfect place to monogram.

The pattern was quick and easy for me.  I love halter dresses.  I love maxi's.  I omitted the front collar ruffle and the ruffles at the bottom.  I'm just not a ruffle kinda girl.

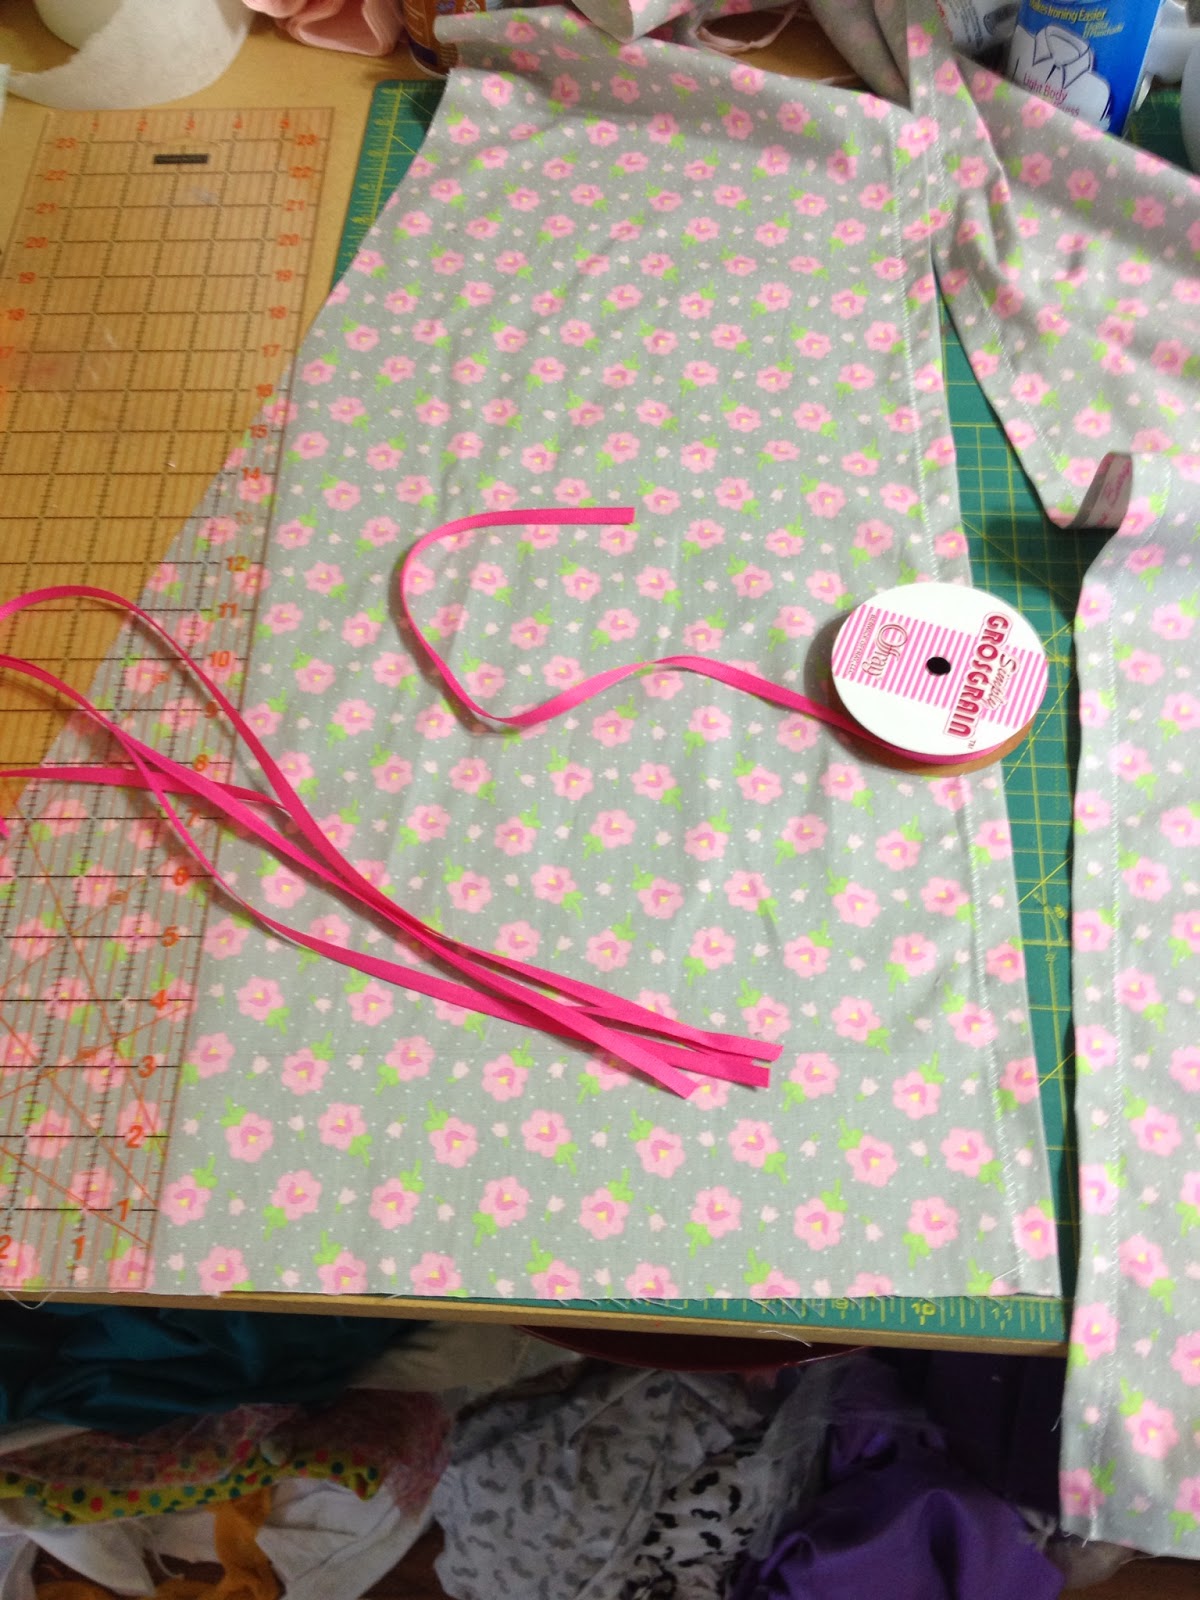
I did add (or subtract, depending on how you see it) to the front skirt.  I printed pages 11 and 12 from their Lacy Slope PDF Pattern.  I wanted to create a slight slope in the front of the dress so I would have a subtle "hi/lo" effect and not trip on my dress as I am prone to do.


Yes, I know I really need to clean my olfa mat.  I'd rather buy a new one. 
Anywho, the photo on the right shows the subtle slope created in the pattern piece after mashing the two patterns.

I love it!


So, as the contest rules state, I went "out and about" to our local park.


Here's the photo shoot.  Ok, honestly, here's the photos from the shoot I will share with you.  Enjoy!


It was really windy.  And my back is starting to hurt. 


My back really hurt.  


When ya gotta go, you gotta go.


My husband absolutely loves this dress!  He wanted to go with me to the park to take pictures.

I said, "Honey, this isn't Maui.  We aren't taking those kind of photos today."


I really enjoyed this pattern.  Wish I had bought it years ago when I first saw it.  Thank you Greenstyle for making my selfish sewing absolutely gratifying!

I'm on my way to the doctor.  No more tilling the garden for me this week. 

gloriajune


Friday, March 28, 2014

Its a Super Woman Hard Core Sew Today with Greenstyle's Centerfield Raglan

A few months ago, I participated in a test of one of Greenstyle Creations patterns.  We were traveling in our RV and I commented that that's where I was sewing . . . . and I was then told that I was "hardcore".

Today I think I'll show you how hardcore I can be.  In that, I like to cheat sometimes.  I'm lazy.

I keep patterns fully printed and taped hanging in my ginormous sewing closet.  My daughter wanted her Centerfield Raglan in a bad way.  (Even though she's 22, she can stomp her feet like a 2 year old.)  So, I pulled the pattern off the rack, hanger still in tow.

I placed my jersey pillow case on top of the pattern and started cutting.  Warning:  Do not try this at home and blame me if you screw up!


Next, the coveted supergirl boom pow fabric I scored from Etsy:


I must say, this is not how I was taught to cut my fabric.  But hey, my mom wasn't watching.  No one was watching.  I send everyone out of the house because I "have a deadline" today . . . . that's what I usually say anyway.  And it does work!

I attach all the pieces with the serger.  Even the neckband.  I just iron a fold to mark centers and get crazy.


Not bad at all!  Super!

Then I just fold under the sleeve ends, press with a warm iron (not too hot -- heat is the devil to knits!).
Line up the sleeves at the armpit to make sure they are kinda the same ( ha!) then grab a double needle and stitch.


And then when your daughter drives up and you say, go try your shirt on, you feel so very much like 

SUPER MOM!  


You can buy a copy of the PDF pattern from Greenstyle here.

See you chicks later!

gloriajune

Friday, February 21, 2014

LLK Tee Pee Sew Along Day 4: Assembly

Today we begin at page 12 of the Tutorial.

Hem the short ends of each Pole Pocket Tube. I used my iron to hold the hem in place before sewing.  Don't skip this step!  It creates a nice clean line on the finished tent.

Next, we will attach and hem the door panels.  Following the instructions on Page 13, attach the door panels following the measurement provided.  


If you are using the optional door ties, gather the ribbon, bias tape, or other material you will use to place the door ties on the door panels.  


Now we move onto Page 14 and begin the assembly of the Tee Pee!  

I have pressed my pole pockets in half, wrong sides together, so that it will not shift while I am layering the panels and pole pockets together.  Find your starting point using the measurements provided on page 14, and start layering your first panel/pole/panel.  Pin in place.  Stitch.  Using a serger will give you a nicer finish. A zig zag stitch or pinking shears will also finish the seams nicely. 


 I've added a bit of lace ruffle to finish the top.


All of your panels should now be sewn together!  Page 19 of the Tutorial explains how to secure your tent poles.  You will need a ribbon, twine or the like; a drill and safety goggles!  Safety first!

Push your poles through each pole pocket tube.  Add the end caps or crutch tips to the bottom of each pole.  You've just made a Tee Pee!  


It does take a bit of time and patience to learn how to set up your Tee Pee the first time.  Take your time.  Spread out each pole from the bottom out.  Walk around the tent.  Adjust.  
A little patience is all it takes!  

Now have a Tee Pee Party!

I know two little girls who will be happy to see me (well, more happy to see the tent) very soon!
I'll post pictures!

Upload your photos showing your progress here on Facebook:  Sewalong Tent

Don't forget:

We will be giving away not just one prize but three! Yes -Three winners will be chosen at the end of the sew-a-long, a random participation winner, fan favorite and a Little Lizard King choice! 

I hope you had fun making your Tee Pee!

Gloria


Thursday, February 20, 2014

LLK Tee Pee Sew A Long Day 3: Adding Ruffles, Removing PVC Lettering

For those of you wishing to add ruffles to your Tee Pee, lets go to page 8 of the Tutorial.

Determine how many ruffle layers you wish to make, and of which colors/prints.  (The amount of fabric and what sizes/lengths to cut can be found on the optional ruffle cutting chart on page 3.)  Draw a picture or lay out the panel(s) you will add ruffles to, situate the fabrics in layers until you find what will work best for you.  You don't have to add ruffles at all.  You can fill every panel with ruffles, or you can place ruffles on only one or two panels, spaced along the panel, or filling the panel -- its up to you!

I think I'll only add about 3 ruffles to two panels.  

Let's iron our fabric.  I am pressing the top and bottom layers of the ruffle pieces as directed in the Tutorial, using my iron to create and hold the hem in place until I sew.  


To make ironing this very, very, long ruffle piece, I am folding the fabric as I go -- to give me more room on the ironing board.  It really helps a lot!  

When I get to the sewing machine or serger to start ruffling, I have a tidy pile to bring to the machine.


Let's gather the panels which will have ruffles, a straight ruler/edge, washout cloth pencil/pen.


Using the directions on page 8 of the Tutorial, mark horizontal lines for placement of the ruffles.


Page 9 of the Tutorial gives instructions on how to gather your ruffle pieces.  There are several ways to gather fabric:  sewing machine, serger, ruffler foot, are the ways I am aware of.  

My husband gave me a ruffler foot for Valentine's Day a couple of years ago -- that's what I will be using.


After gathering for what may feel like forever : ), follow the instructions on Page 10 to sew your ruffles to the panel(s).  If you are adding ruffles to the door panels, instructions for that are on Page 11.

I think I like this for my panels . . . . what do you think?


Upload your photos showing your progress here on Facebook:  Sewalong Tent

Don't forget:

We will be giving away not just one prize but three! Yes -Three winners will be chosen at the end of the sew-a-long, a random participation winner, fan favorite and a Little Lizard King choice! 

We will begin assembly of the tent next time we meet!

Gloria


BONUS:  How to remove the lettering on your PVC poles

Its much easier than you think!  100% Acetone Nail Polish Remover!  Enjoy!


Tuesday, February 18, 2014

LLK Tee Pee Sew Along Day 2 - Cutting out the Tent Pieces

Your fabrics/sheets are washed and dried . . . . have you pressed/ironed them?  It is very important to iron all of your pieces, whether you use your iron to mark cutting lines or just to make sure everything is pressed well to make cutting easier, let's do that first.  I recommend using Fabric Sizing or a spray starch.  It really makes ironing easier!

I'll have these tools with me today:


My kindle which has the Tutorial loaded on it, Magic Sizing for my ironing, a measuring tape, a washout cloth marking pencil, my rotary cutter and rulers, and a chalk line tool.

Page 5 of the tutorial is the beginning of "Cutting the Fabric".  We will cut four panels -- this is what the tutorial refers to as the Large Panel.

I ironed my fabric, and folded the Large Panel in half, then marked the cutting line at the top.  We are not concerned about selvage on this project.  We are concerned about making sure we have fabric pieces that are within the required measurements.  When the Large Panel is folded in half, we need to be sure that we will have enough width at the bottom to mark our diagonal line for cutting out the panel.


I've used my washout cloth marking pencil to mark the points required in the tutorial at the top and at the bottom of the Large Panel.  (remember your panel is folded in half now)


Now I'm going to make a line to meet the two marks.


I like to use a chalk line marker, 
but you can use a long ruler or any other straight edge to help you mark the panel shape.  
You may wish to mark your lines on the wrong side of your fabric.  Its personal preference here!


Cut on the marked line.  Repeat with all Large Panels.  Hold onto your remnant/leftovers.  One section will be used for the front door.


Cut the remnant section into two identical/mirror images for the door panel.  (see Tutorial page 7 for photo)

Iron/press your pole fabric, and cut out 5 pieces following the measurements in the tutorial.

If you are using the optional door ties, you'll need to cut four pieces of ribbon, bias tape, or whatever you'd like to use as ties.

We'll cut and assemble Ruffles tomorrow for those who are adding them!

Gloria