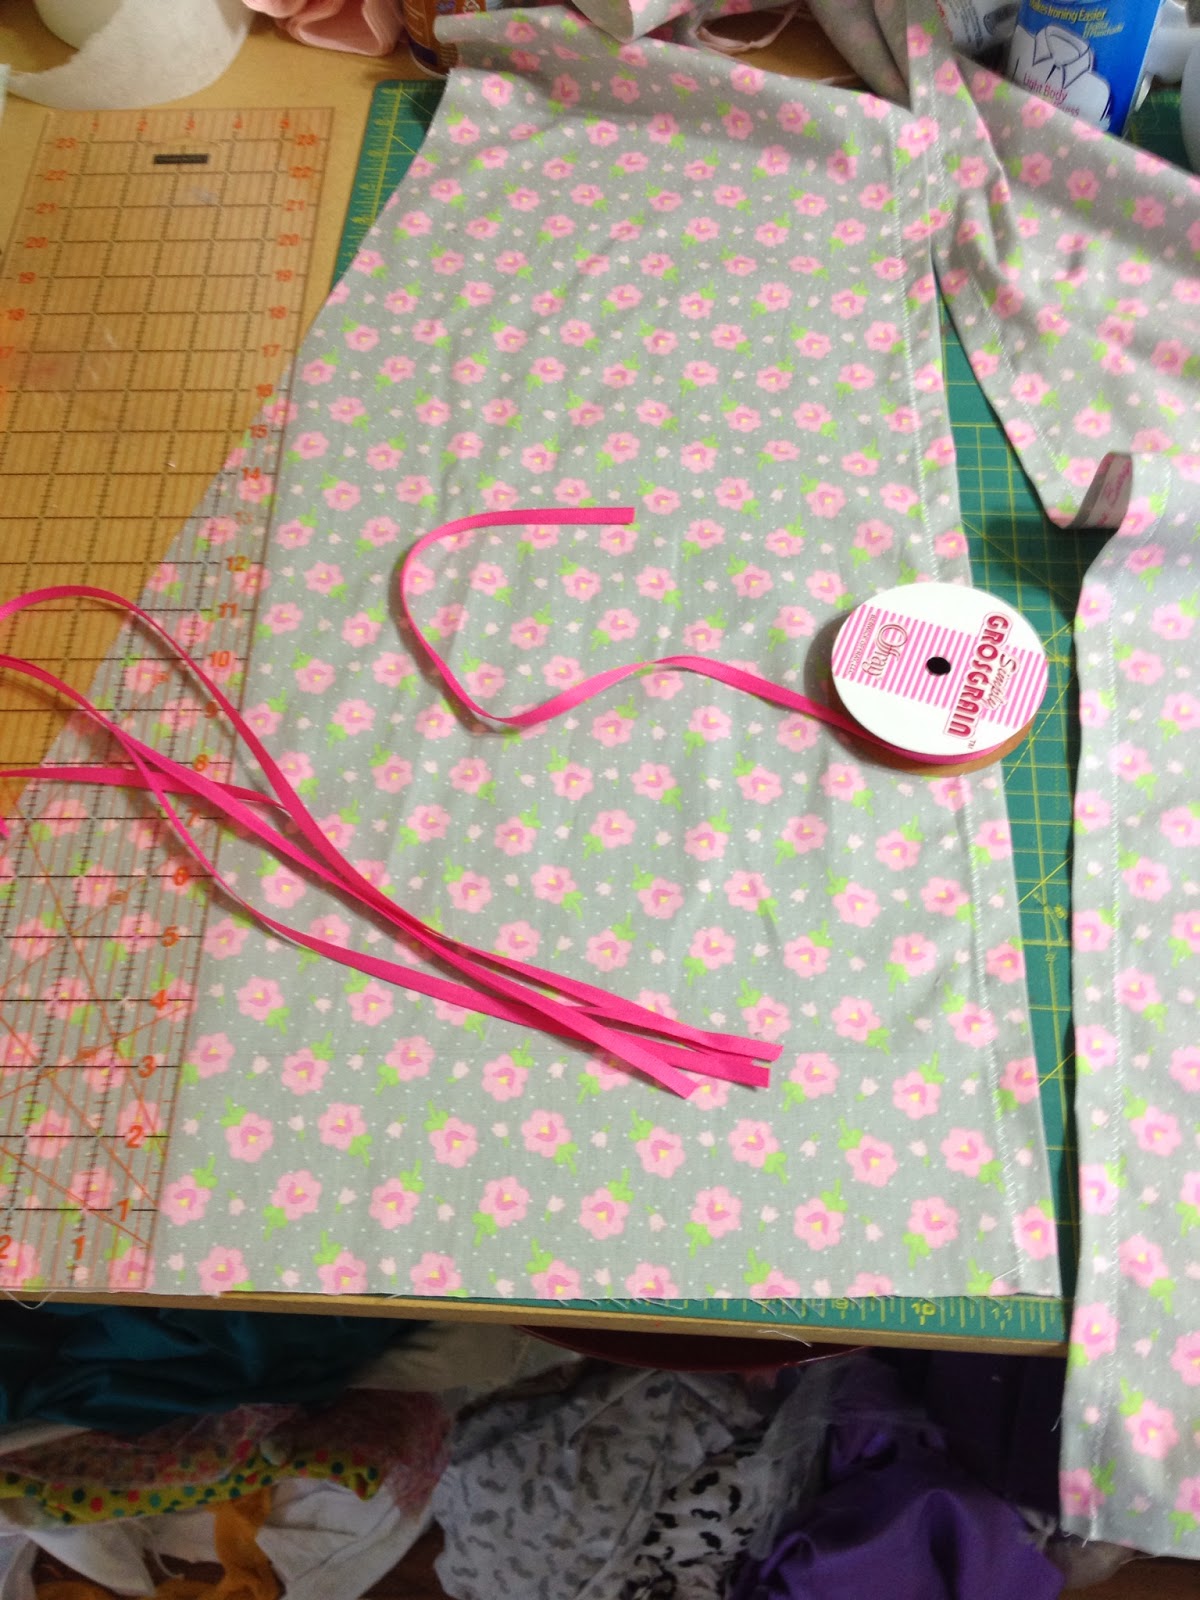
Hem the short ends of each Pole Pocket Tube. I used my iron to hold the hem in place before sewing. Don't skip this step! It creates a nice clean line on the finished tent.
Next, we will attach and hem the door panels. Following the instructions on Page 13, attach the door panels following the measurement provided.
If you are using the optional door ties, gather the ribbon, bias tape, or other material you will use to place the door ties on the door panels.
Now we move onto Page 14 and begin the assembly of the Tee Pee!
I have pressed my pole pockets in half, wrong sides together, so that it will not shift while I am layering the panels and pole pockets together. Find your starting point using the measurements provided on page 14, and start layering your first panel/pole/panel. Pin in place. Stitch. Using a serger will give you a nicer finish. A zig zag stitch or pinking shears will also finish the seams nicely.
I've added a bit of lace ruffle to finish the top.
All of your panels should now be sewn together! Page 19 of the Tutorial explains how to secure your tent poles. You will need a ribbon, twine or the like; a drill and safety goggles! Safety first!
Push your poles through each pole pocket tube. Add the end caps or crutch tips to the bottom of each pole. You've just made a Tee Pee!
It does take a bit of time and patience to learn how to set up your Tee Pee the first time. Take your time. Spread out each pole from the bottom out. Walk around the tent. Adjust.
A little patience is all it takes!
Now have a Tee Pee Party!
I know two little girls who will be happy to see me (well, more happy to see the tent) very soon!
I'll post pictures!
Upload your photos showing your progress here on Facebook: Sewalong Tent
Don't forget:
We will be giving away not just one prize but three! Yes -Three winners will be chosen at the end of the sew-a-long, a random participation winner, fan favorite and a Little Lizard King choice!
I hope you had fun making your Tee Pee!
Gloria


