Showing posts with label tent. Show all posts

Friday, February 21, 2014

LLK Tee Pee Sew Along Day 4: Assembly

Today we begin at page 12 of the Tutorial.

Hem the short ends of each Pole Pocket Tube. I used my iron to hold the hem in place before sewing.  Don't skip this step!  It creates a nice clean line on the finished tent.

Next, we will attach and hem the door panels.  Following the instructions on Page 13, attach the door panels following the measurement provided.  


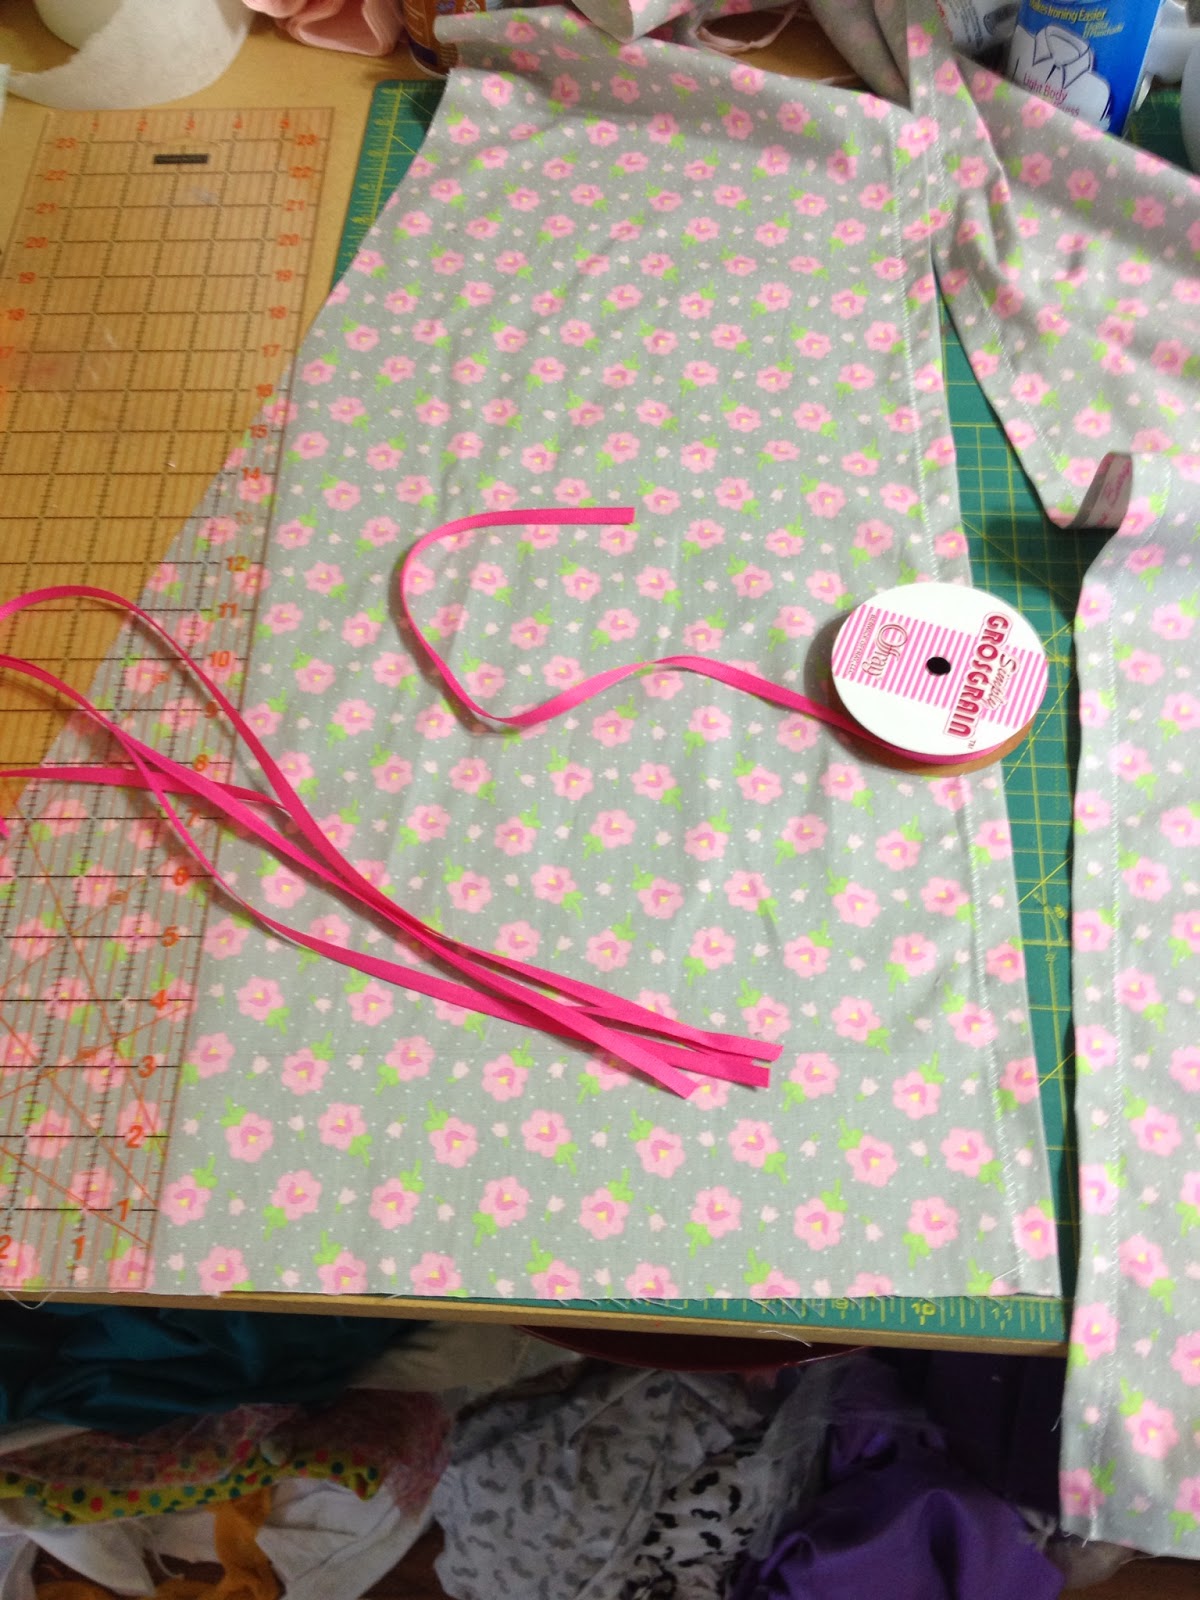
If you are using the optional door ties, gather the ribbon, bias tape, or other material you will use to place the door ties on the door panels.  


Now we move onto Page 14 and begin the assembly of the Tee Pee!  

I have pressed my pole pockets in half, wrong sides together, so that it will not shift while I am layering the panels and pole pockets together.  Find your starting point using the measurements provided on page 14, and start layering your first panel/pole/panel.  Pin in place.  Stitch.  Using a serger will give you a nicer finish. A zig zag stitch or pinking shears will also finish the seams nicely. 


 I've added a bit of lace ruffle to finish the top.


All of your panels should now be sewn together!  Page 19 of the Tutorial explains how to secure your tent poles.  You will need a ribbon, twine or the like; a drill and safety goggles!  Safety first!

Push your poles through each pole pocket tube.  Add the end caps or crutch tips to the bottom of each pole.  You've just made a Tee Pee!  


It does take a bit of time and patience to learn how to set up your Tee Pee the first time.  Take your time.  Spread out each pole from the bottom out.  Walk around the tent.  Adjust.  
A little patience is all it takes!  

Now have a Tee Pee Party!

I know two little girls who will be happy to see me (well, more happy to see the tent) very soon!
I'll post pictures!

Upload your photos showing your progress here on Facebook:  Sewalong Tent

Don't forget:

We will be giving away not just one prize but three! Yes -Three winners will be chosen at the end of the sew-a-long, a random participation winner, fan favorite and a Little Lizard King choice! 

I hope you had fun making your Tee Pee!

Gloria


Thursday, February 20, 2014

LLK Tee Pee Sew A Long Day 3: Adding Ruffles, Removing PVC Lettering

For those of you wishing to add ruffles to your Tee Pee, lets go to page 8 of the Tutorial.

Determine how many ruffle layers you wish to make, and of which colors/prints.  (The amount of fabric and what sizes/lengths to cut can be found on the optional ruffle cutting chart on page 3.)  Draw a picture or lay out the panel(s) you will add ruffles to, situate the fabrics in layers until you find what will work best for you.  You don't have to add ruffles at all.  You can fill every panel with ruffles, or you can place ruffles on only one or two panels, spaced along the panel, or filling the panel -- its up to you!

I think I'll only add about 3 ruffles to two panels.  

Let's iron our fabric.  I am pressing the top and bottom layers of the ruffle pieces as directed in the Tutorial, using my iron to create and hold the hem in place until I sew.  


To make ironing this very, very, long ruffle piece, I am folding the fabric as I go -- to give me more room on the ironing board.  It really helps a lot!  

When I get to the sewing machine or serger to start ruffling, I have a tidy pile to bring to the machine.


Let's gather the panels which will have ruffles, a straight ruler/edge, washout cloth pencil/pen.


Using the directions on page 8 of the Tutorial, mark horizontal lines for placement of the ruffles.


Page 9 of the Tutorial gives instructions on how to gather your ruffle pieces.  There are several ways to gather fabric:  sewing machine, serger, ruffler foot, are the ways I am aware of.  

My husband gave me a ruffler foot for Valentine's Day a couple of years ago -- that's what I will be using.


After gathering for what may feel like forever : ), follow the instructions on Page 10 to sew your ruffles to the panel(s).  If you are adding ruffles to the door panels, instructions for that are on Page 11.

I think I like this for my panels . . . . what do you think?


Upload your photos showing your progress here on Facebook:  Sewalong Tent

Don't forget:

We will be giving away not just one prize but three! Yes -Three winners will be chosen at the end of the sew-a-long, a random participation winner, fan favorite and a Little Lizard King choice! 

We will begin assembly of the tent next time we meet!

Gloria


BONUS:  How to remove the lettering on your PVC poles

Its much easier than you think!  100% Acetone Nail Polish Remover!  Enjoy!


Saturday, February 15, 2014

Little Lizard King Tee-Pee Tutorial Sew Along - Day 1

Two little girls that I've "adopted" as my grandchildren have just discovered the fun of playing in large boxes. Perfect timing since we're about to make a tee-pee for them to hide and play in!

LittleLizardKing has a beautifully designed Tee-pee Tutorial.  (Photo courtesy of Little Lizard King


And I get to host my very first sew-a-long this week!  

If you haven't bought the Tutorial yet, you can find it here.


First, let's gather our supplies

I went to my local Ace Hardware store to purchase (3) 3/4" PVC poles (each pole was 10' long); and (5) 3/4" stoppers to cover the bottom ends of each pole.  You can cut the poles in half yourself with a hacksaw; or, you can ask the employees in your hardware store to cut them for you like I did!


If the cut ends of your pole are a bit ragged, don't worry.  Those ends we will cover with the stoppers (or crutch covers) and the ends that were not cut will be used at the top of the Tee Pee.  (If you've got tennis balls, they'll work too - but will be a bit bulky when you close the Tee Pee for storage.)

Now, let's buy or re-purpose some fabric!


If you plan to re-purpose sheets or curtains, I found an article here to help you determine how much yardage you have in those items.  If you've changed bedroom themes and you've got extra sheets filling up your linen closet, here's your chance to use them!  Or better yet, you WANT to change your bedroom and the kids really want a Tee Pee . . . . Or, go by Goodwill or a thrift store.  There's always something there you can use and you'll be helping others by donating/buying from a charity.

I always wash and dry my fabrics before sewing.  This reduces the chance of shrinkage after the project is complete.  If you're using sheets, you've already washed them hundreds of times!

I purchased some fabrics from Fabric.com and have some lace, ribbons, and cording that I may use as well.


While your fabric is washing/drying, cut your poles in half if you haven't already had the Helpful Hardware Man help you in the store.  

We'll be cutting out fabric the next time we meet!

Gloria